Set the right temperature and time by thickness; your sous vide is done.
If you want a clear, confident way to cook, you’re in the right place. I’ll walk you through how to know when sous vide is done using time, temperature, and thickness. You’ll learn practical checks, safe hold times, and real-world cues that work in any kitchen.

Why sous vide “doneness” is different
In sous vide, the water sets the final temperature of your food. That target is the finish line, not a guess. Doneness means the center has reached your set temperature and, when needed, held long enough to be safe.
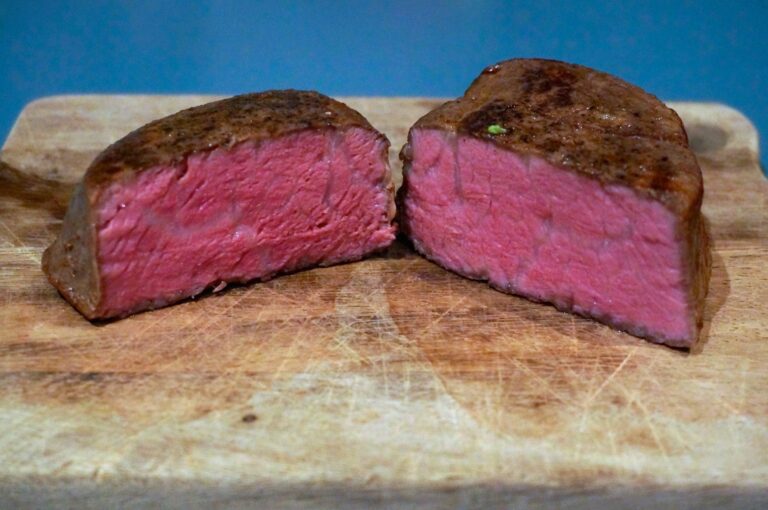
This is also why how to know when sous vide is done is not about color alone. A steak can look rare but be perfect edge to edge. A chicken breast can be juicy at 145°F when held long enough, even if it is not the classic white.
There are two kinds of “done.” One is heat-through and safe. The other is tender. Tender cuts are done once heated and pasteurized. Tough cuts need extra time for collagen to melt.
:max_bytes(150000):strip_icc()/__opt__aboutcom__coeus__resources__content_migration__serious_eats__seriouseats.com__images__2015__06__20150610-sous-vide-chicken-guide-cold-to-hot-550ad7a1c2f44816a24d8250d431071e.jpg)
The core answer: time, temperature, and thickness
Time and temperature work as a pair. Thickness decides how long it takes the center to match the bath. For most tender cuts, there is a heat-up window, then an optional safety hold. After that, more time only changes texture.
Here is the simple way to think about it:
- Choose the finish temperature you want. For steak, that may be 129°F. For chicken breast, 145°F to 150°F is common.
- Estimate heat-up time by thickness. Thin foods heat fast. Thick foods need hours.
- If safety matters for the food, hold at temp for the right time.
- Sear fast at the end. Do not raise the center much.
Pasteurization and safety windows
- Safety depends on both temperature and time at the center.
- For poultry, a common set of safe holds at the center are about: 140°F for around 27 to 30 minutes; 145°F for about 9 minutes; 150°F for about 3 minutes; 155°F for under 1 minute. These times come from standard pasteurization tables used by chefs and regulators.
- Red meat steaks and chops served medium-rare do not need the same hold for safety if the outside is seared well, since surface microbes die fast in the sear. Ground meat is different and needs full pasteurization.
Heat-up time vs tenderization time
- Heat-up time is how long the core needs to match the bath.
- Tenderization time is extra time for collagen-rich cuts to turn soft.
- A 1-inch steak may be done in 45 to 60 minutes. A beef short rib may need 24 to 48 hours.
If you master this trio, you will always know how to know when sous vide is done.

Practical ways to tell when it’s done without guessing
You do not need to open the bag or stab the meat each time. Use these simple cues and methods I rely on in my kitchen.
- Use a thickness timer rule. As a rule of thumb, 1-inch cuts need about 1 hour, 1.5-inch cuts need about 2 hours, and 2-inch cuts need about 3 to 4 hours to heat through. Add the safety hold if needed.
- Log your go-to items. Write down the temp and times that work for you. Next time, you already know how to know when sous vide is done for that cut.
- Check with a thin probe through tape. If you must measure, pierce a small piece of tape on the bag with a fine probe. This keeps the seal tight while you confirm the center.
- Feel through the bag. Tender cuts feel springy and even. Tough cuts get bendy after many hours. With practice, this cue is very clear.
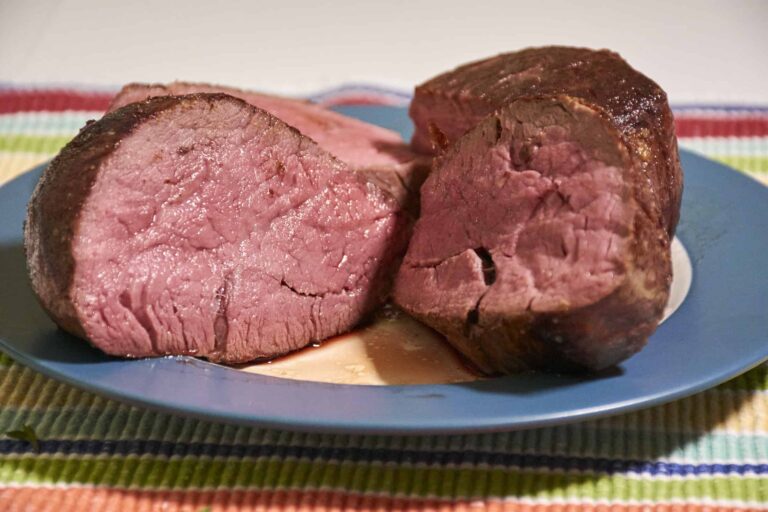
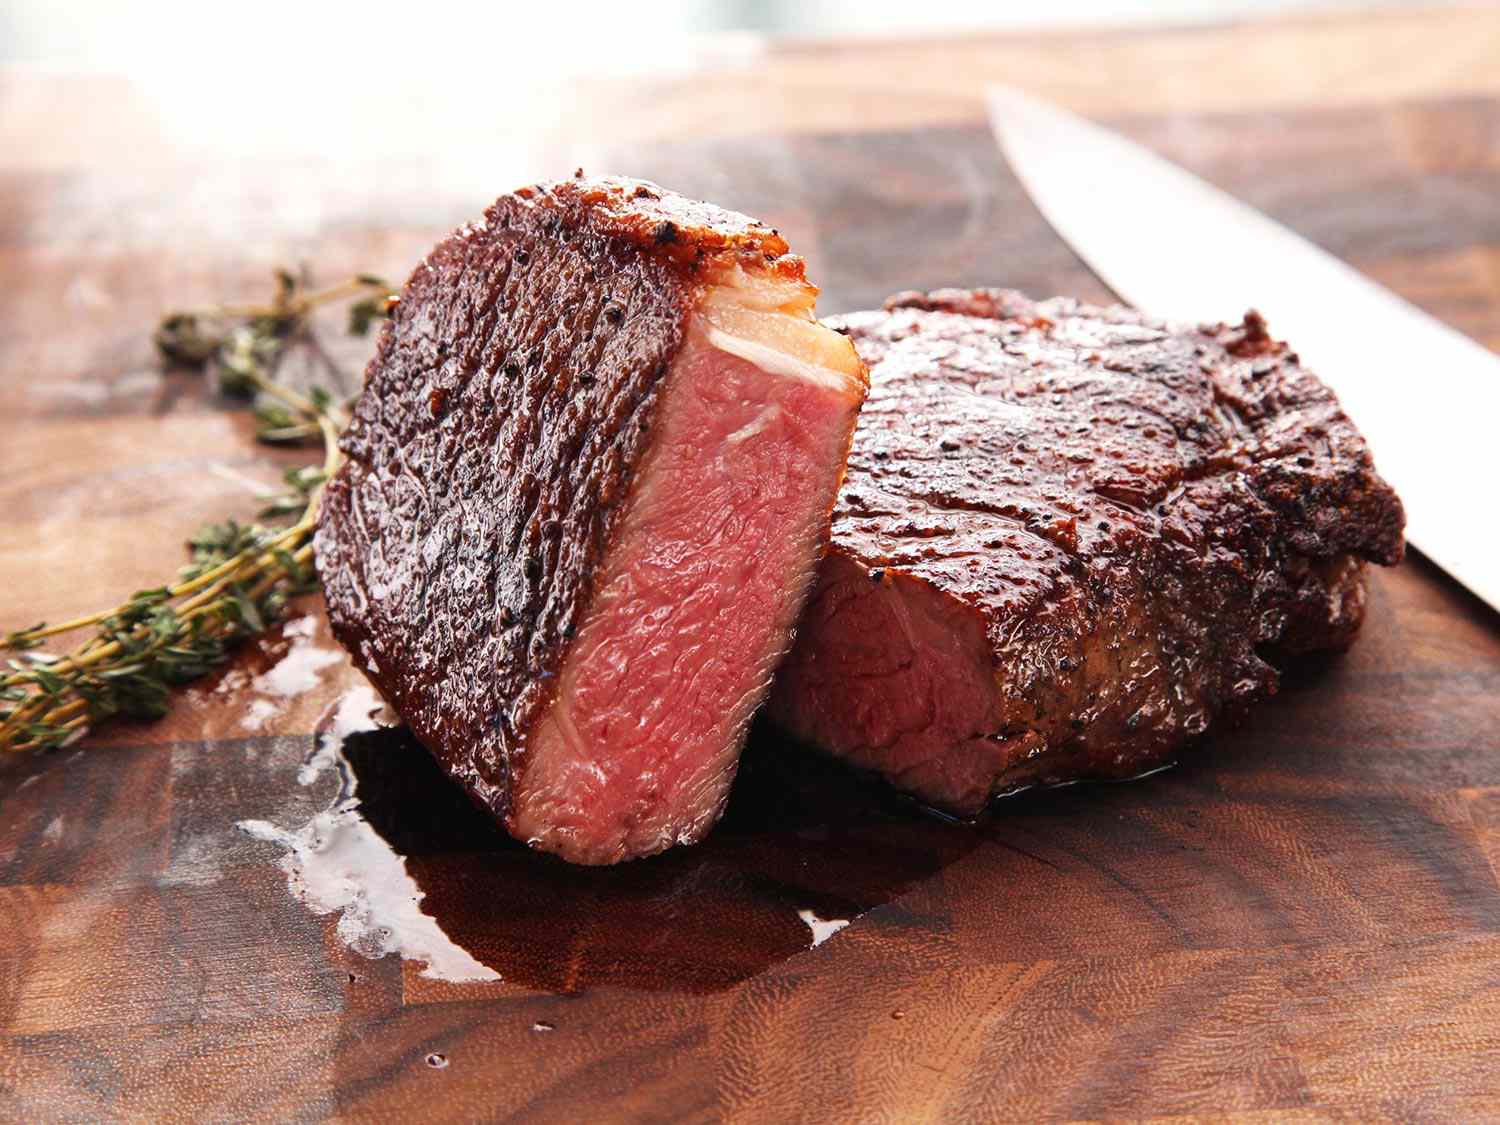
- Watch for edge-to-edge color when you slice. A uniform look shows even heating. Patchy bands mean you pulled it too soon.
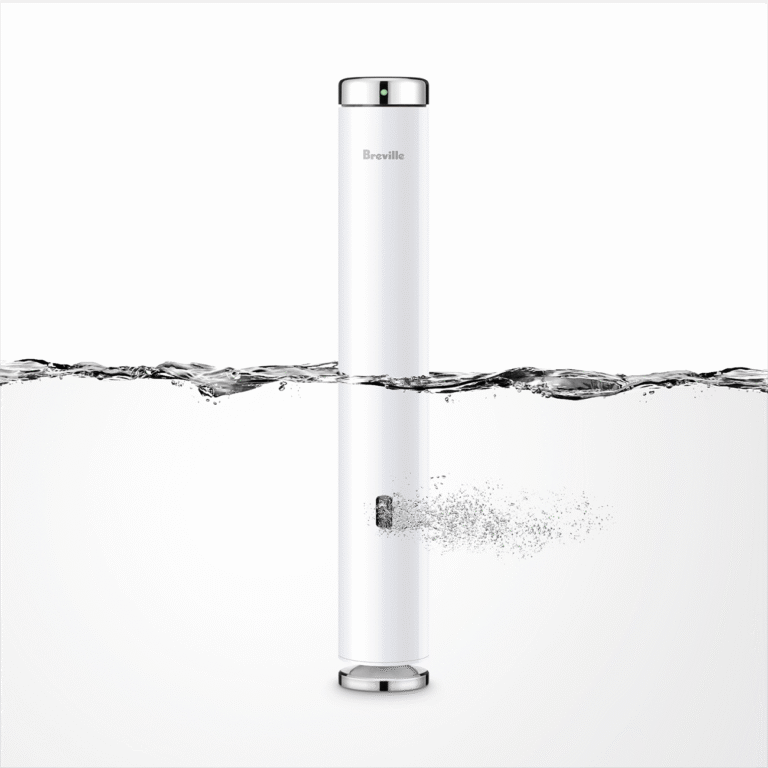
- Use a reliable thermometer for the bath. If the bath drifts, the center lags. A steady bath gives steady results.
- Plan the sear. A hot, fast sear takes 45 to 90 seconds per side. Keep the center at target.
These steps remove guesswork and make how to know when sous vide is done feel easy and repeatable.
:max_bytes(150000):strip_icc()/__opt__aboutcom__coeus__resources__content_migration__serious_eats__seriouseats.com__recipes__images__2015__05__Anova-Steak-Guide-Sous-Vide-Photos15-beauty-159b7038c56a4e7685b57f478ca3e4c8.jpg)
Quick time guides by thickness and cut
These are practical, high-confidence ranges I use at home and in testing. They balance texture, flavor, and safety. Always start the clock when the bath is back at set temp after you add the bag.
Steak and chops (tender beef, lamb, pork)
- 1 inch: 45 to 60 minutes to heat through at 129°F to 135°F; sear fast.
- 1.5 inches: 1.5 to 2.5 hours at 129°F to 135°F.
- 2 inches: 3 to 4 hours at 129°F to 135°F.
- Tip: Past 4 hours at low temps, tender steaks can turn soft or mushy.
Chicken and turkey (boneless, skinless)
- 145°F: 1.5 to 2.5 hours for most breasts up to 1.5 inches, plus a 9-minute center hold for safety.
- 150°F: 1 to 2 hours, plus a 3-minute hold at the center.
- 155°F: About 1 to 1.5 hours, very short hold needed.
- Tip: Dark meat likes 160°F to 170°F for 1.5 to 4 hours for silky texture.
Pork roasts and tenderloin
- Tenderloin: 135°F to 140°F for 1.5 to 3 hours.
- Loin roast (2 to 3 inches thick): 140°F for 3 to 4 hours; add hold if you want pasteurization certainty.
Fish and seafood
- Salmon: 113°F very soft, 30 to 45 minutes; 120°F tender, 35 to 60 minutes; 125°F flaky, 40 to 60 minutes.
- Shrimp: 135°F to 140°F for 15 to 30 minutes.
- Tip: Fish is thin. Do not overrun the clock.
Eggs (in shell)
- Custardy: 145°F for about 45 minutes.
- Jammy: 167°F for 12 to 14 minutes.
- Set whites with runny yolk: 149°F to 152°F for 40 to 50 minutes.
Tough cuts (collagen-rich)
- Beef short ribs: 155°F for 24 to 36 hours (braisy), or 129°F for 36 to 72 hours (pink, sliceable).
- Chuck roast: 135°F for 24 to 48 hours (sliceable), or 155°F for 18 to 24 hours (shreddy).
- Pork shoulder: 165°F for 12 to 18 hours (pullable), or 145°F for 24 to 36 hours (sliceable).
Vegetables (need higher heat)
- Carrots, beets: 183°F to 185°F for 45 to 90 minutes.
- Asparagus, green beans: 180°F for 10 to 20 minutes.
Use these ranges and you will know how to know when sous vide is done for most foods you cook.

Signs of trouble and how to fix them
Even careful cooks run into hiccups. Here is how to spot issues fast.
- Still cool in the center after time is up. Likely too thick for the time. Add 30 to 60 minutes for each extra 0.5 inch of thickness.
- Bag floats. Trapped air slows heating. Open, reseal with better vacuum, or add weights/clips.
- Cloudy bath, odd smell. Bag may have leaked. Discard if safety is in doubt and clean the bath.
- Mushy tender cuts. You went too long. Next time, shorten by 30 to 60 minutes or raise temp slightly.
- Dry or stringy texture. Temp was too high. Drop the set temp by 2°F to 5°F next time.
- Over-seared outside, cool inside. Sear was too long. Heat your pan hotter, sear shorter, and pat the surface very dry.
With these fixes, you will feel calm about how to know when sous vide is done, even on busy nights.
:max_bytes(150000):strip_icc()/__opt__aboutcom__coeus__resources__content_migration__serious_eats__seriouseats.com__images__2016__07__20160801-sous-vide-brisket-guide-temp-time-composite-c065606501b1404bb02bf6b6c6a95548.jpg)
Pro tips, tools, and logging
Practical gear helps you hit exact doneness every time.
- Racks and clips keep bags under water for even heating.
- A fine needle probe through a taped spot reads the center with little mess.
- A kitchen timer or app avoids over-holding tender cuts.
- Ice baths let you chill fast after cooking. This is ideal for make-ahead meals.
A quick story. When I first dialed in a 2-inch ribeye at 129°F, I pulled it at 3 hours, patted it dry, and seared for 60 seconds per side. The slice showed one rosy color from edge to center. That day I learned how to know when sous vide is done is not a guess. It is a plan you repeat.
Keep a simple log. Note cut, thickness, temp, time, and sear. Three cooks later, you will have a playbook for your kitchen.

Frequently Asked Questions of how to know when sous vide is done
How to know when sous vide is done for steak?
Use thickness-based time at your target temp, then a fast sear. For a 1.5-inch steak at 129°F, plan 1.5 to 2.5 hours before searing.
How to know when sous vide is done without a thermometer?
Follow thickness timing and use proven time ranges. Slice and check for edge-to-edge color and steady warmth throughout.
How to know when sous vide is done for chicken breast?
Hold at 145°F for about 9 minutes at the center after it heats through, or use 150°F for a shorter hold. Most 1- to 1.5-inch breasts finish in 1.5 to 2.5 hours total.
Can I overcook with sous vide?
Yes, over long holds, tender cuts can get mushy. Stay within the recommended windows and use a timer.
Does searing raise the internal temperature too much?
Not if you sear hot and fast on a dry surface. Aim for 45 to 90 seconds per side and rest briefly.
What if my bag leaks during the cook?
Stop, discard if safety is in doubt, and clean the bath. Rebag with a better seal and restart the timer once the bath returns to temp.
Do I need to rest sous vide meat before searing?
A brief rest or a quick chill helps keep the center at target. Pat dry so the sear is fast and hot.
Conclusion
You now have a clear way to judge doneness with sous vide: set the right temperature, match your time to thickness, and add a safety hold when needed. Use quick checks like feel through the bag, uniform color, and a fast sear.
Put this guide to work on your next cook. Start with one cut and log your result. Then iterate. If this helped, subscribe for more step-by-step guides or leave a comment with your favorite temp and time.