Place the probe, pair the app, track temp, and pull at doneness.
If you want steady, repeatable results, you need a smart thermometer. In this guide, I explain how to use smart gear meat thermometer like a pro. I cover setup, probe placement, target temps, app alerts, and care. I also share tips from cooks I ran on a grill, smoker, and oven. By the end, you will know how to use smart gear meat thermometer with ease and confidence.

What is a smart meat thermometer and why it matters
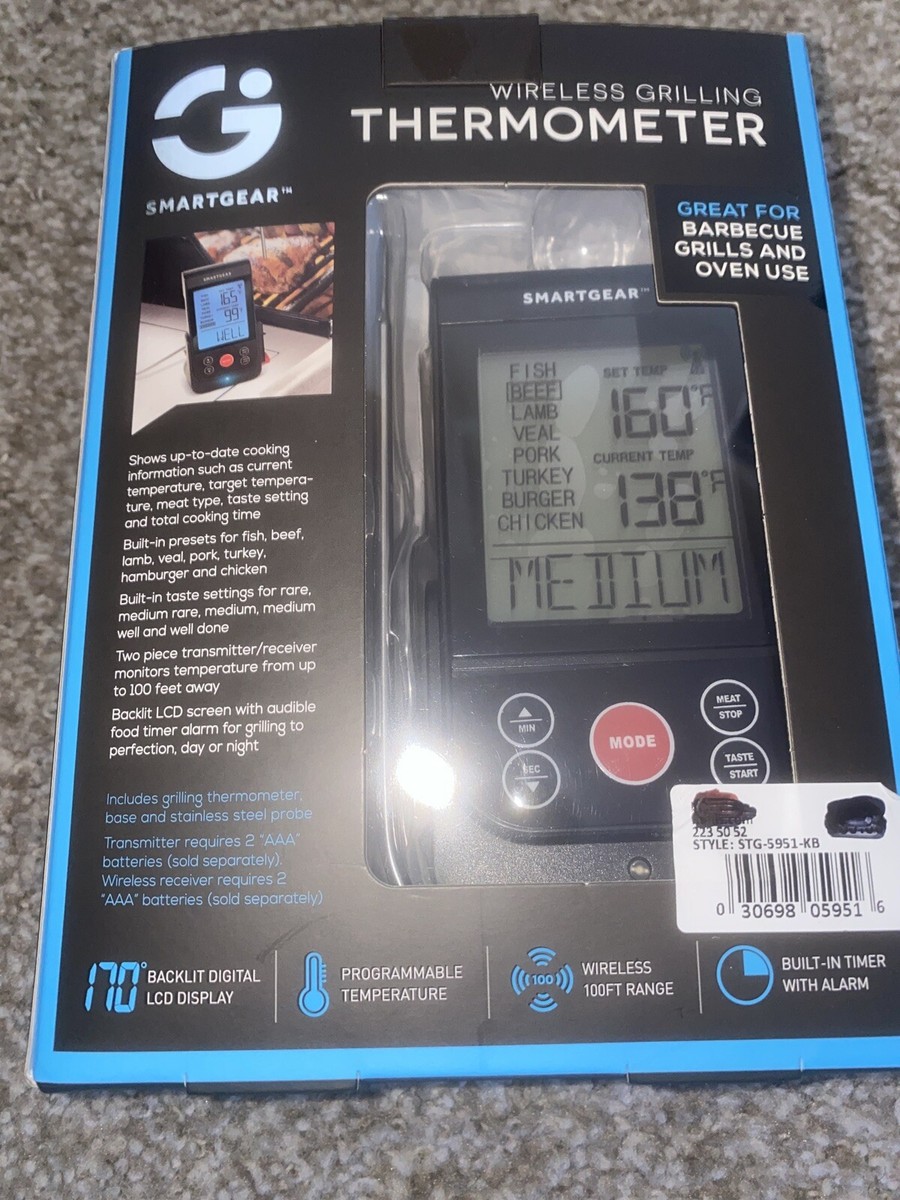
A smart meat thermometer tracks food temp in real time. Many also track ambient grill or oven temp. You see both on your phone or watch. You set target temps and get alerts. You can step away and still cook right.
Here is what you get:
- Better doneness. You pull meat at the right temp.
- Less stress. Alerts tell you when to flip, wrap, or rest.
- Safer food. You avoid undercooked meat.
- Data you can learn from. Graphs show rise and rest.
Limitations to note:
- App steps differ by brand and model.
- Bluetooth range can be short near metal grills.
- Probes need careful cleaning to last.
If you want to master how to use smart gear meat thermometer, start with the basics. Know the parts. Know where to place the probe. Know your target temps. The rest feels easy.
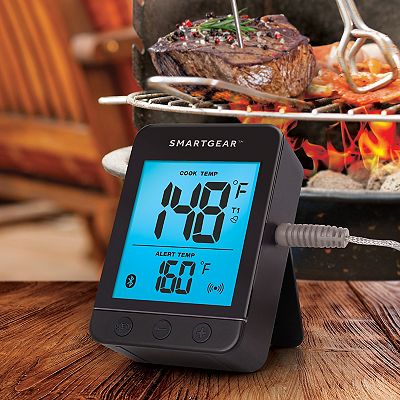
Step-by-step: how to use smart gear meat thermometer
Follow these steps for a solid first cook.
- Charge or insert fresh batteries. Dead power ruins a cook.
- Install the app. Create an account if needed.
- Pair the device. Turn on Bluetooth. Follow the in-app prompts.
- Select your meat and doneness in the app. Set your target temp.
- Insert the probe into the thickest part. Avoid bone and fat pockets.
- Place the meat on the grill, smoker, or in the oven.
- Keep the cable or probe line away from direct flame.
- Watch temp on your phone. Do not open the lid too often.
- When the app alerts, test with an instant-read if you like. Then pull.
- Rest the meat. Most cuts rise a few degrees as they rest.
This is the core of how to use smart gear meat thermometer. Use it to guide your timing, not just to check at the end.

Pairing and app setup done right
Smooth pairing makes or breaks the first cook.
- Turn on location and Bluetooth if the app asks. It helps with pairing.
- Name your probes. For example, Probe 1 Brisket, Probe 2 Pit.
- Choose units. Most cooks in the US use Fahrenheit.
- Enable critical alerts. Turn on high and low alarms.
- Update firmware when prompted. It can fix bugs and add features.
Tip from practice: If pairing fails, force-close the app, toggle Bluetooth off and on, and try again near the device. This small reset often works. If you still struggle with how to use smart gear meat thermometer during pairing, reboot both phone and thermometer.

Probe placement and safe target temperatures
Probe placement is the top skill in how to use smart gear meat thermometer. Bad placement can be off by 10 to 20 degrees.
Do this:
- Aim for the center of the thickest part.
- Stay at least half an inch from bone and large fat seams.
- For poultry, insert into the deepest part of the breast or inner thigh.
- For steaks, slide in from the side for a center hit.
- For roasts, target the center mass, not the edges.
Safe minimum internal temperatures (based on USDA guidance):
- Poultry: 165°F
- Ground beef or pork: 160°F
- Beef, veal, lamb steaks and roasts: 145°F plus a 3-minute rest
- Pork chops or roasts: 145°F plus a rest
- Fish: 145°F
- Leftovers and casseroles: 165°F
Set your alert a few degrees below the target. This helps you account for carryover during the rest.

Cooking methods: grill, smoker, oven, and sous vide
Each heat source acts a bit different. Here is how to use smart gear meat thermometer for each method.
Grill:
- Keep the probe cable away from direct flame.
- Place meat on the cool side for thick cuts.
- Use ambient probe clips to track grill temp.
Smoker:
- Place the pit probe at grate level, near the meat.
- Mind cable routing through a gasket or port.
- Track stall on big cuts like brisket and pork butt.
Oven:
- Use a shallow pan rack to let heat flow.
- Avoid probe cables touching oven elements.
- Use the oven light to peek instead of opening the door.
Sous vide then sear:
- Cook in the water bath with a bag. You do not need the probe here.
- Insert the probe after the bath when you sear.
- Pull the meat once the crust forms. Watch the quick rise.

Calibration and accuracy checks
Even good probes can drift. A quick test will build trust.
- Ice bath test: Fill a glass with ice and a little water. Stir. Insert the tip. It should read near 32°F after a minute.
- Boiling water test: At sea level it should read near 212°F. Adjust for your altitude if you know it.
- Compare with a trusted instant-read. Do three checks at different temps.
If you see a big error, contact support. Some apps let you set an offset. That can save a cook in a pinch. This step helps anyone learning how to use smart gear meat thermometer with precision.

Cleaning, care, and battery life
Good care keeps probes accurate and safe.
- Wipe the probe with a damp cloth while warm. Do not soak the cable.
- Keep the probe head and cable out of the dishwasher.
- Do not pinch cables in lid seams. Use a probe port if your grill has one.
- Charge after long cooks. Store dry and coiled loosely.
If your model is wireless without cables, wipe the whole probe with a sanitizing wipe. Do not submerge the electronics unless the manual says it is safe.

Troubleshooting and common mistakes
When learning how to use smart gear meat thermometer, a few issues pop up often.
Common problems:
- App disconnects near metal grills. Move the receiver outside the grill body. Use a small foil shield to reflect heat, not signal.
- Probes fail early. Do not bend cables near the probe head. Heat and sharp bends kill wires.
- Readings jump. The tip is touching bone or a fat pocket. Re-seat the probe.
Mistakes to avoid:
- Setting one alert for all meats. Different cuts need different temps.
- Pushing the probe tip through the other side. Now you read air, not meat.
- Ignoring rest time. Temps keep rising. Plan for it.
If alarms do not fire, check silent mode on your phone. Also confirm you allowed notifications in the app settings.

Advanced tips and data use
Once you know how to use smart gear meat thermometer, go deeper.
- Use a two-stage cook. Start low to build even heat, finish hot for crust.
- Track rate of rise. If temp climbs too fast, lower pit temp to avoid a dry finish.
- Set a pre-alert 5°F before target. Start butter basting or glazing then.
- For big roasts, watch the stall. When the curve flattens, wrap in butcher paper.
- Save cook logs. Note cut weight, pit temp, and finish time. Repeat what works.
Carryover tip: Thick roasts can rise 5 to 10°F during rest. Pull early to land on your goal.
Real-world examples and lessons learned
I have cooked dozens of steaks, birds, and roasts with smart thermometers. Here are a few takeaways that will help you master how to use smart gear meat thermometer in daily life.
- Weeknight chicken breasts: I set 160°F for the pull alert. By the time I plate, it hits 165°F. Juicy every time.
- Reverse-sear ribeye: I cook at 225°F to 118°F internal. Rest 10 minutes. Sear hard to 128 to 130°F. The app graph shows a smooth rise.
- Pork shoulder overnight: I set low pit alarms at 215°F and high at 275°F. If the smoker dips at 3 a.m., my watch taps me. I fix vents fast.
Lessons learned:
- Probe placement beats fancy settings. Take 10 seconds to place it right.
- Use pre-alerts. They give you time to glaze, sear, or tent.
- Trust but verify. Spot-check with an instant-read until you know your probe’s behavior.
These simple habits make how to use smart gear meat thermometer feel natural and calm.
Frequently Asked Questions of how to use smart gear meat thermometer
Do I need to leave the probe in the whole time?
Yes, for roasts and large cuts, leave it in for live tracking. For thin cuts, use the probe like a quick check to avoid overcooking.
Can I use it on a grill with high heat?
Yes, but keep cables and electronics away from direct flame. Check your model’s max probe and cable temps before searing.
How do I stop Bluetooth dropouts?
Keep the phone and receiver in line of sight, not behind thick metal. A simple signal repeater or Wi‑Fi bridge can help.
What if the reading seems wrong?
Re-seat the probe in the thickest part and avoid bone. Cross-check with an instant-read and do an ice bath test if needed.
Is it safe to cook to color instead of temperature?
No. Color can mislead due to lighting, marinades, or myoglobin. Use internal temperature to confirm doneness and food safety.
Conclusion
A smart thermometer removes guesswork and gives you control. Place the probe well, set the right target, and use alerts to time every step. Keep notes, learn your gear, and make small tweaks.
You now know how to use smart gear meat thermometer with skill. Try it on your next chicken, steak, or roast. Share your results, ask questions, and subscribe for more simple, proven cook guides.