Scrub, dry, oil thin, then bake at 450°F to reseason a cast iron Dutch oven.
If your pot is dull, sticky, or rusty, this guide shows exactly how to reseason cast iron Dutch oven cookware the right way. I’ve restored flea‑market finds and family heirlooms for years, and I’ll walk you through simple, proven steps, common pitfalls, and pro tips so your Dutch oven cooks like new.

Seasoning, Explained: What It Is and Why It Matters
Seasoning is a thin, hard layer formed when oil bonds to hot iron. This layer protects against rust and gives you a natural nonstick surface. It is not paint or a coating you brush on. It is polymerized oil baked into the pores of the metal.
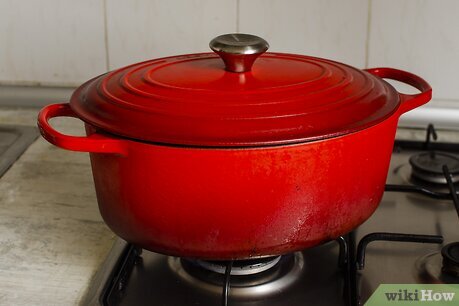
If you own an enameled Dutch oven, you do not reseason the enamel interior. You only season any exposed raw iron, like the rim or lid edge. For bare cast iron, learning how to reseason cast iron dutch oven cookware builds a durable, glossy finish that only gets better with use.
Manufacturer guidance and lab testing agree on two truths. Thin coats beat thick coats, and hot ovens create stronger bonds. Keep those in mind as you work.
Signs It’s Time To Reseason
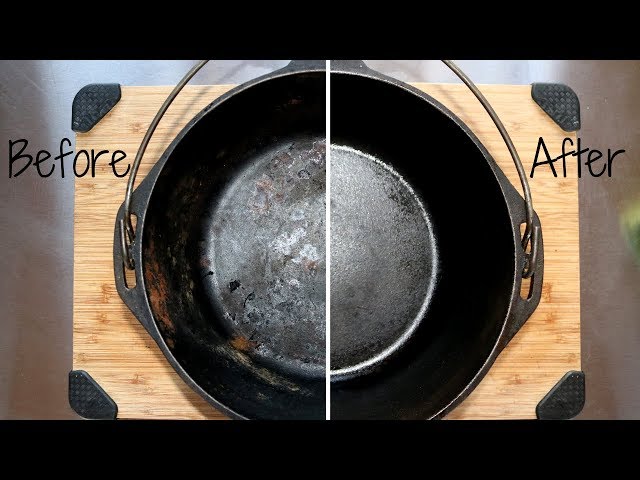
Watch for these cues before you decide how to reseason cast iron dutch oven pieces in your kitchen:
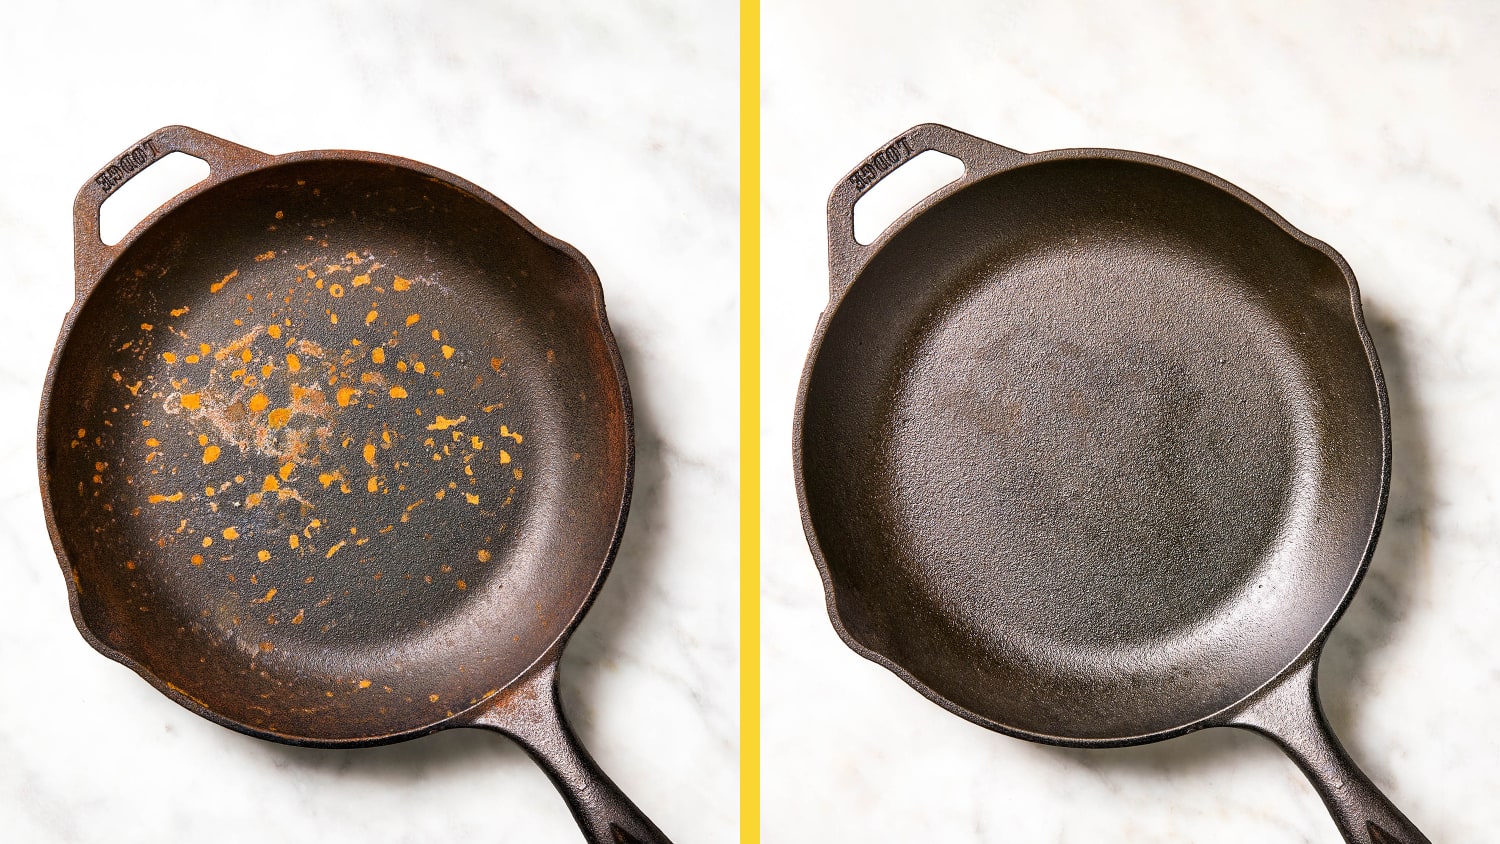
- Dull gray metal or patchy color where food sticks.
- Orange rust spots or a rough, sandy feel.
- Sticky, tacky, or gummy film after cooking or storing.
- Flaking black bits that lift with a paper towel.
- Rancid smell from old oil when you heat the pot.
You don’t always need a full strip. Sometimes one fresh, thin coat is enough.
Tools and Materials You’ll Need
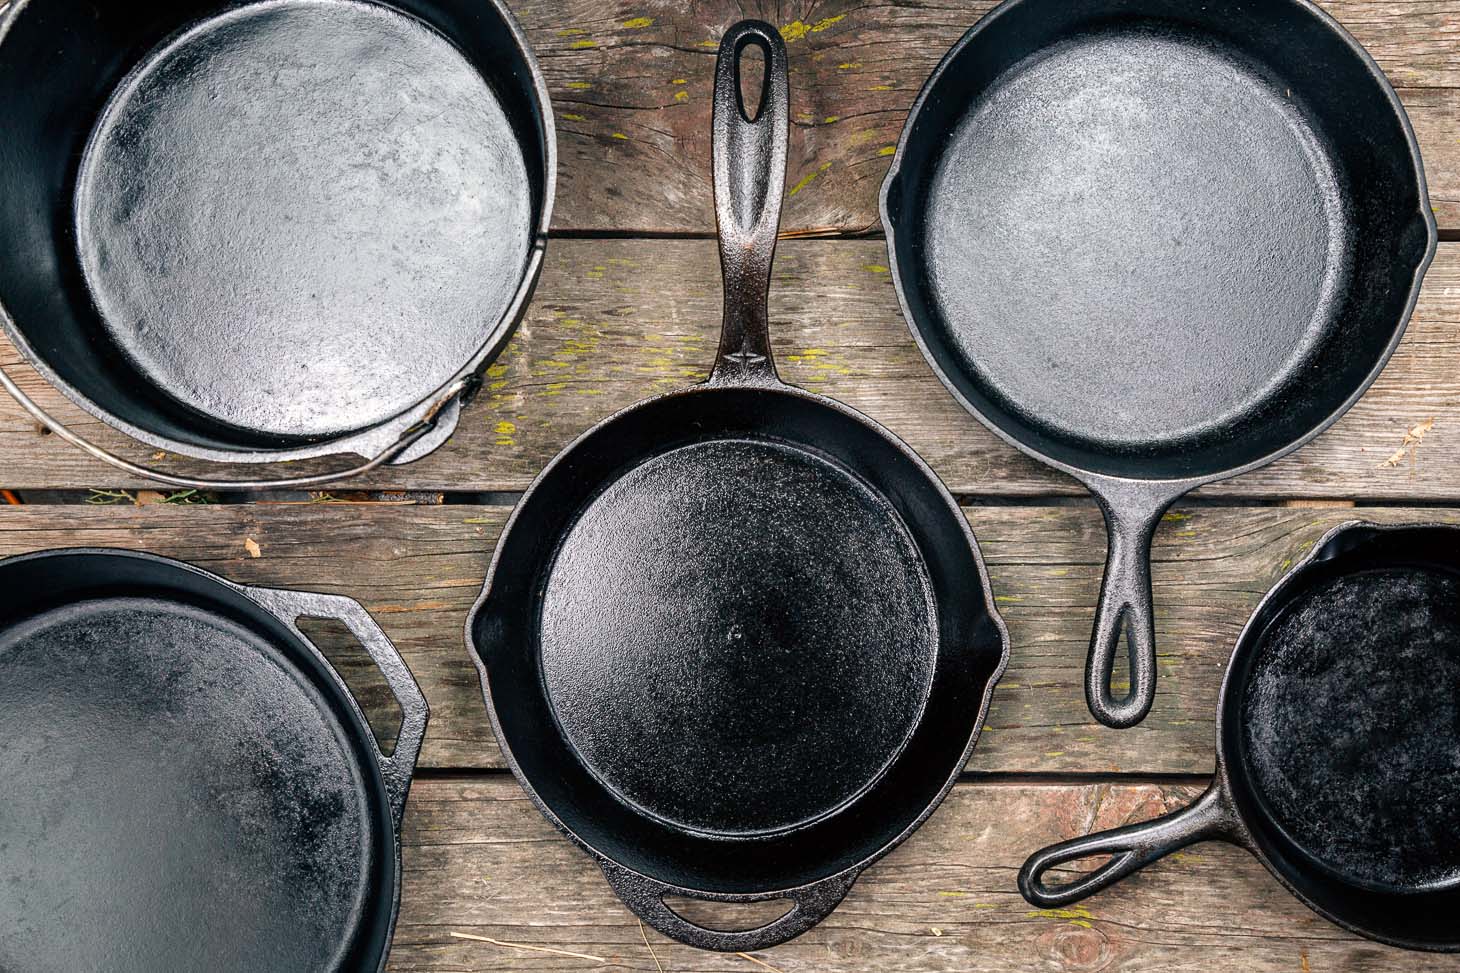
Gather a few basics so the job goes fast and clean:
- Chainmail scrubber, stiff brush, or non-scratch pad.
- Coarse salt for scouring and mild dish soap.
- Paper towels or lint‑free cloths and nitrile gloves.
- Oven set to 450–500°F and foil or a sheet pan to catch drips.
- Neutral, high‑heat oil like grapeseed, canola, soybean, or refined avocado.
- Tongs, a dry towel, and a timer.
These are simple items, but they make reseasoning smooth and safe.

Step-by-Step: How to Reseason Cast Iron Dutch Oven
This is the method I teach friends who ask how to reseason cast iron dutch oven cookware at home. It is fast, reliable, and repeatable.
- Wash and inspect
- Scrub with warm water, a drop of soap, and a brush.
- For light rust, add coarse salt and scrub until the orange fades.
- Rinse well and dry with a towel.
- Dry with heat
- Set the pot and lid on a burner over low heat for 5–10 minutes.
- You want it bone dry. Water trapped in pores causes flash rust.
- Preheat the oven
- Set to 450–500°F. Hotter heat builds a harder layer.
- Place foil or a sheet pan on a lower rack to catch drips.
- Oil very thinly
- Add 1 teaspoon of oil to the pot. Rub inside, outside, and the lid.
- Wipe off almost all the oil with a clean towel. The surface should look dry, not glossy or wet.
- Bake upside down
- Place the pot and lid upside down in the oven.
- Bake for 60 minutes. Vent a window or use a hood. A little smoke is normal.
- Cool inside the oven
- Turn off heat and let it cool in the closed oven for 30–60 minutes.
- One coat is good. Two to three coats are great for a full refresh.
Pro tip: The most common mistake when learning how to reseason cast iron dutch oven cookware is using too much oil. When in doubt, wipe again.

Choosing the Right Oil
The best oil is one you will use in a very thin coat. You want a high smoke point and a good level of unsaturated fats, which bond well to iron.
- Great picks: grapeseed, canola, soybean, refined avocado, or vegetable shortening.
- Fine picks: sunflower, safflower, rice bran, or refined peanut.
- Skip for seasoning: extra‑virgin olive oil or butter. They smoke early and can get sticky.
Flaxseed oil can build a dark layer fast, but it may chip if applied thick. If you try it, use whisper‑thin coats and lower heat on the first pass. For most home cooks asking how to reseason cast iron dutch oven gear, grapeseed or canola is simple and stable.

Special Cases and Fixes
Heavy rust
- Mix equal parts white vinegar and water. Soak only the rusty area for 15–30 minutes.
- Scrub. Rinse. Do not soak longer, or you may etch the iron.
- Dry with heat, then reseason.
Sticky or gummy finish
- Warm the pot to soften the film. Wipe with a towel and a bit of soap.
- Reapply a very thin coat and bake hot. Sticky means too much oil or not enough heat.
Flaking or chipping
- Scrub until loose layers lift off.
- If it keeps flaking, strip fully with a deep clean, then build 2–3 new thin coats.
Black residue on food
- This is often carbon, not bare iron.
- Scrub, rinse, dry, and add one thin coat. Bake again.
Old, rancid smell
- Wash with hot water and soap. Heat to drive off odors.
- Apply a fresh coat and bake. Store with the lid ajar.
If you still wonder how to reseason cast iron dutch oven cookware after damage, remember this rule: strip, dry, oil thin, bake hot, repeat.
Aftercare: Keep the Seasoning Strong
Good habits reduce how often you must reseason cast iron dutch oven pieces.
- Clean while warm. Use hot water, a brush, and a pinch of salt if needed.
- Dry with heat for a few minutes. Water is the enemy.
- Rub a pea‑size drop of oil while warm. Wipe until the surface looks dry.
- Preheat before cooking. Add food to a hot, lightly oiled surface.
- Early on, cook fatty foods. Hold off on long tomato braises for a few cooks.
- Store with a paper towel between pot and lid to prevent moisture.
Small, steady care beats big overhauls.
Reseasoning On a Grill or Stovetop
If your oven smokes too much, use a gas grill. It is my favorite way during summer.
- Heat the grill to 500°F. Place the oiled pot and lid upside down.
- Bake for 60 minutes. Close the lid and vent well. Cool inside.
For spot repairs, the stovetop works. Heat the area, dab a tiny bit of oil, then buff dry with a towel until it almost squeaks. Keep the heat on for 10 minutes to set the film. This is a quick fix if you already know how to reseason cast iron dutch oven cookware and only need a patch.

Safety, Science, and My Field Notes
A thin coat hardens because heat links oil molecules into a dry network. That bond is stronger at higher heat, which is why 450–500°F works so well. Expert tests echo this, and my results match it.
My early mistake was flooding the pot with oil. The layer looked shiny but turned sticky and streaked. Now I oil, then wipe until the cloth stays clean. When friends ask how to reseason cast iron dutch oven cookware without sticky spots, I tell them this: if you can see wet shine, it is too much oil. Wipe again.
For smoke, crack a window and run a fan. Use gloves when moving hot iron. Do not leave the oven unattended.
Frequently Asked Questions
Can I use soap before reseasoning?
Yes. A little dish soap removes old oil and debris and will not hurt bare iron. Rinse well and dry with heat before you add new oil.
What temperature and time are best for reseasoning?
Bake at 450–500°F for 60 minutes per coat. Let it cool in the oven for at least 30 minutes, and repeat 2–3 times for a deep rebuild.
Do I need to season an enameled Dutch oven?
No. The enamel interior does not need seasoning. Only oil and season any raw iron edges, such as the rim or uncoated lid underside.
Why is my pot sticky after seasoning?
You used too much oil or did not get it hot enough. Wipe off excess, reheat to 450–500°F, and bake another 60 minutes with a very thin coat.
How often should I reseason?
As needed. If food starts to stick or you see dull, gray patches, add one thin coat. Full rebuilds are rare with good aftercare.
Which oil should I use?
Choose grapeseed, canola, soybean, or refined avocado oil. They bond well and resist stickiness when applied in thin coats.
Can I cook acidic foods after reseasoning?
Yes, but wait a couple of cooks if the layer is brand new. Build strength with a few fatty meals first, then simmer tomatoes or wine.
Conclusion
You now know exactly how to reseason cast iron dutch oven cookware: clean, dry, oil very thin, bake hot, and repeat. Keep coats light, heat high, and your Dutch oven will reward you with a slick, tough finish.
Pull out your pot tonight, do one thin coat, and feel the difference next week. Want more cast iron tips and recipes? Subscribe for new guides, or share your own seasoning wins and lessons in the comments.